
iPhone 5 case #2

The first one was a modified bumper with transparent back. Though it looked ok, even more so with some wear and tear, it just lacked the correct texture and feel. So this time I went in to recreate rust threedimensionally.
Design and mockup
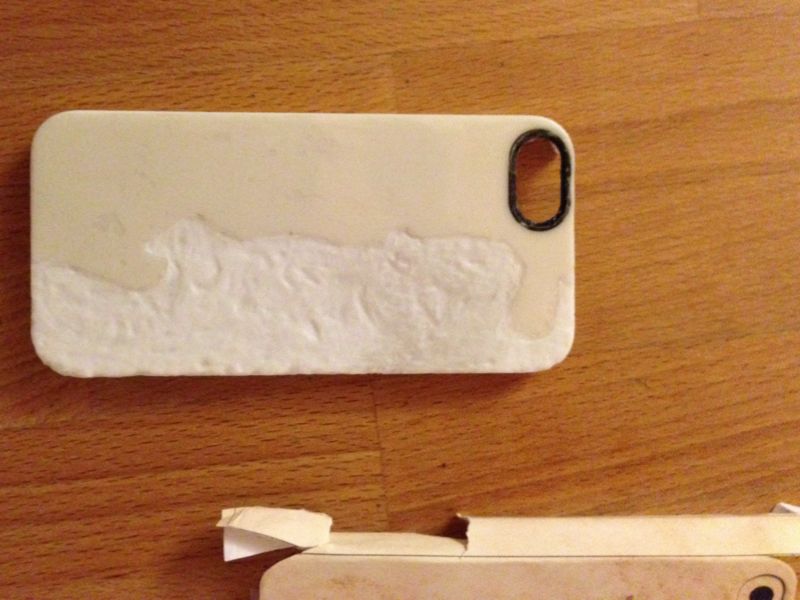
I took a white Belkin hard case for iPhone 5 as a base.
Then I went through countless rust pictures of my Thunderbird parts and chose one. Next I created a paper mockup for positioning the image and get the general impression of it.
Transferring the analog bump map to actual 3D
The main features like paint/rust border and cavities were then transferred by rubbing the back of the mockup with lead pencil, positioning it on the case and trace those areas. Then I used a Dremel tool with some dentist drills I got from a friendly dentist to carve along.
Transferring the Design
The next task proved to be much more complicated than I thought. I wanted to print the paper mockup design on water slide transfer paper and then slide it on the case. First the colors of the inkjet on the transfer pater turned out very unpredictable. So I had to sacrifice some of the rather expensive paper to test print some variations. When the colors looked ok, I clear coated the paper and let it dry for some time.
Next the slide had to go on the case. If you ever have built an aircraft or car scale model from Heller, Ertl or the likes you’ll be used to the process of aplying water slide decals: Clean and degrease the surface of the case, cut ot the decal, let the decal soak in warm water and then slide it on.
The problem with this was that the slide ist very delicate and it’s hard to position it right because of it’s huge size. What was also challenging were the dangling corner stripes which were part of the design
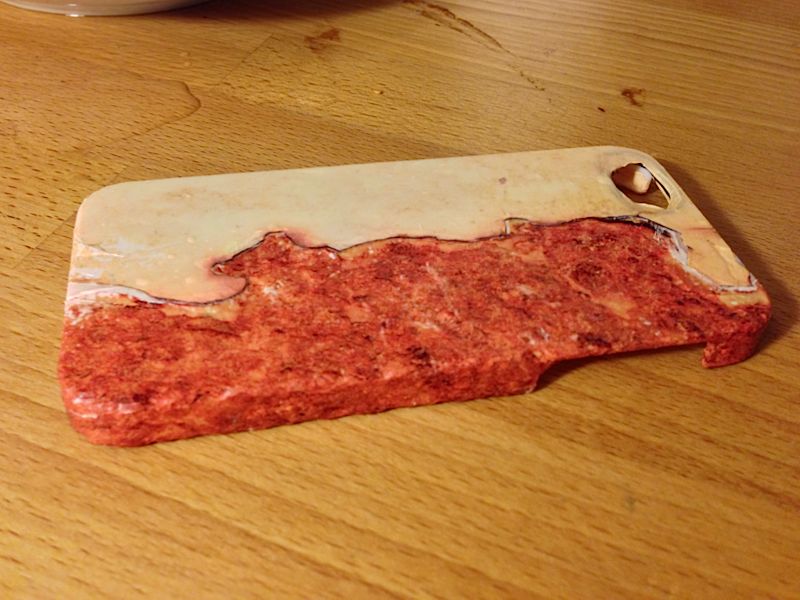
With the third attempt it looked quite ok.
I then applied some transfer foil setter liquid, which basically softens the film so it can cling to surfaces more closely.
Finally the case got a couple of shots of matte clear acrylic varnish.
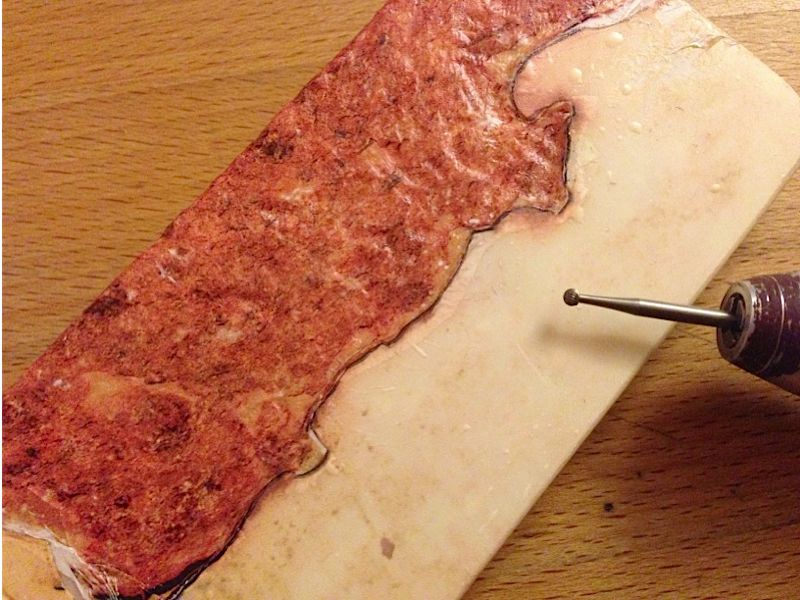
Here’s a closer shot with the dentist drill.
Holding up
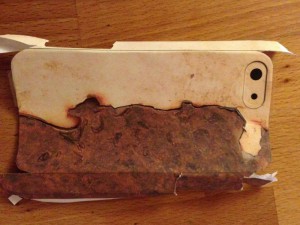
The design looked quite ok, though it also in a way resembled a piece of meat. This even more so whit time, when some color came off the rust peaks and showed some more white from the original case color.
The color also came off more quickly than I had hoped for, and after about 2 weeks of daily use and abuse in close contact with keys, pockets and zippers it started to look less cool to me. Which was maybe also partly due to some comments telling me how great it looked when I held a raw steak to my ear…
So I decided to scarpe the color texture off the case and redo the whole thing.
No pics here, sorry, should have taken some with the thing on my ear 🙂

Leave a Reply