
iPhone 5 case #4

After my son’s initial cursing period (and realizing that it wasn’t dx.com’s fault anyway) I decided to order a new one for him and keep this one for a new case mod.
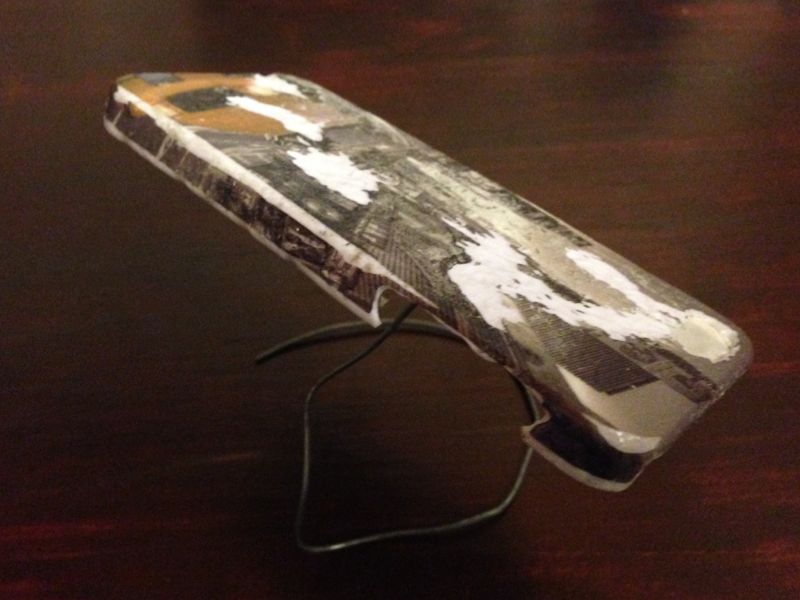
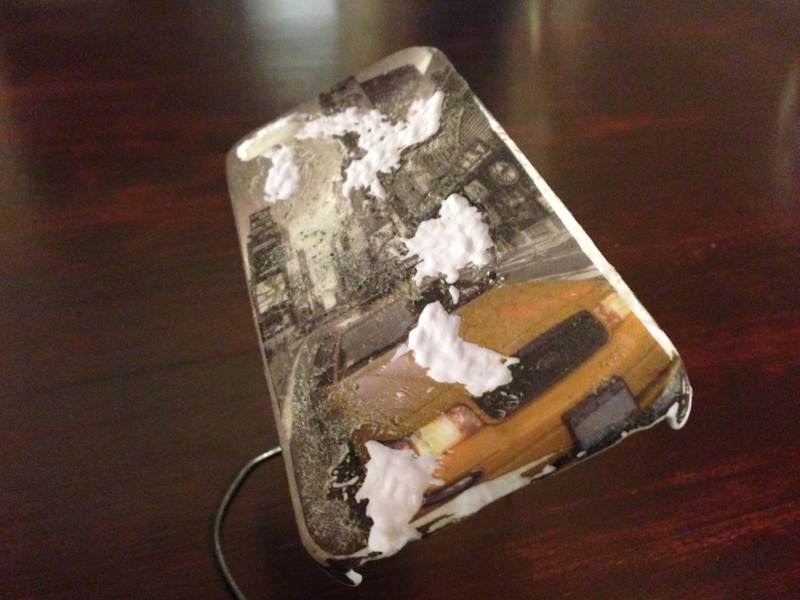
Below are two before/after images…


I didn’t really like the print of the NYC cab scene, but on the other hand the colors were within an acceptable range for me: I was considering how the case would look after some of my mod color would wear off at the corners and some raised spots, which is inevitable with normal use. The gray and brownish yellow looked OK for this.
Creating the structure
First I covered the inner part of the case with cardboard and masking tape, while also fixating a bent steel wire stand.
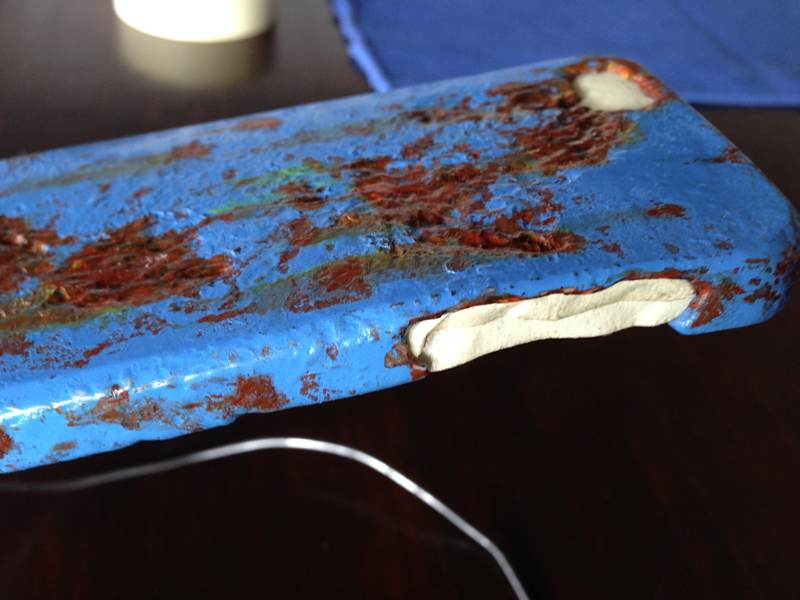
I used my proven set of dentist drill bits to create rust cavities on the case. When I put the case on the phone I noticed that the accessibility of the side buttons was pretty poor. Going with the rusty appearance I had in mind, I cut away some of the case’s side. This looked promising enough to make me drill away some more of the inner and outer edges of the case, making it look even more rusted away.
Base coating
Considering the case’s color wear-off, I wanted to have a darker base coat this time, so the color showing through would look like rust instead of a white case. I therefore went with a couple of layers of rusty brown acrylic spay paint.
To accelerate the drying process I put it in the oven at about 45°C (roughly 110°F).
I figured the case had to be able to withstand this kind of temperature, which you easily get when you leave it in a closed car for example, or just have it laying on an outside table at summer time.
Was I wrong…. The case took on a twisted shape and was only so much bendable afterwards, not fully returning to it’s original shape. Not a big deal really, but a little annoying, being it such an early stage of the process and the case was off a little already.
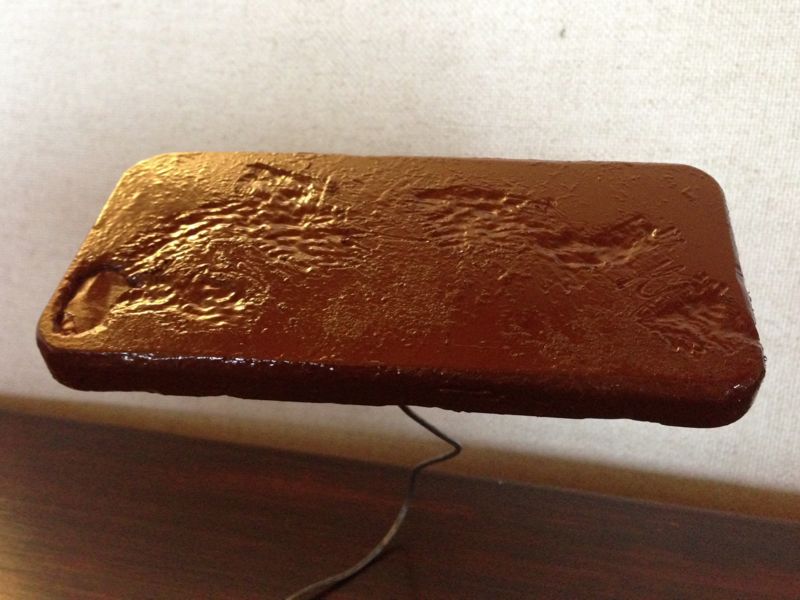
Honestly, at this stage it’s hard to say if this is a slab of chocolate or a pressed piece of dog turd…
The main color
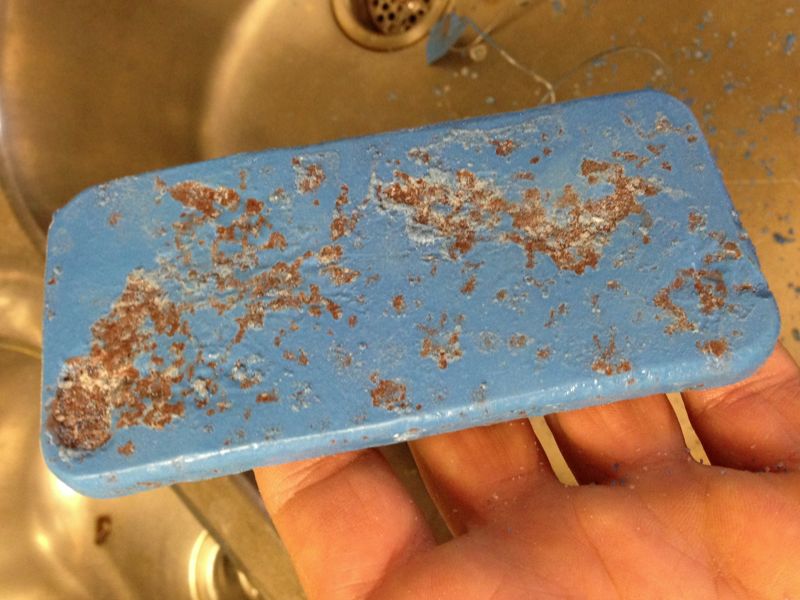
Next was the main color. Because the last cases looked a little too unobtrusive, which led to many search operations, I wanted to go with a more colorful scheme this time. So blue was chosen as the main color.
I prepared the case by sanding it and applying faux weathering with the sea salt technique. Then I sprayed the case 3 times with blue varnish and let it dry almost completely. Next the salt had to be scarped off.
After the salt was gone, the case looked really pretty. You can still see some salt remaining on the “rust” here.
More rust
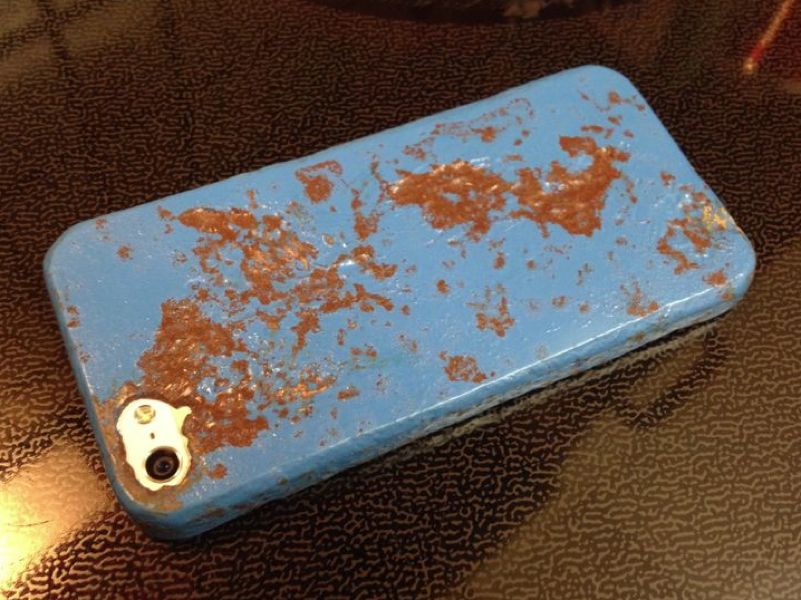
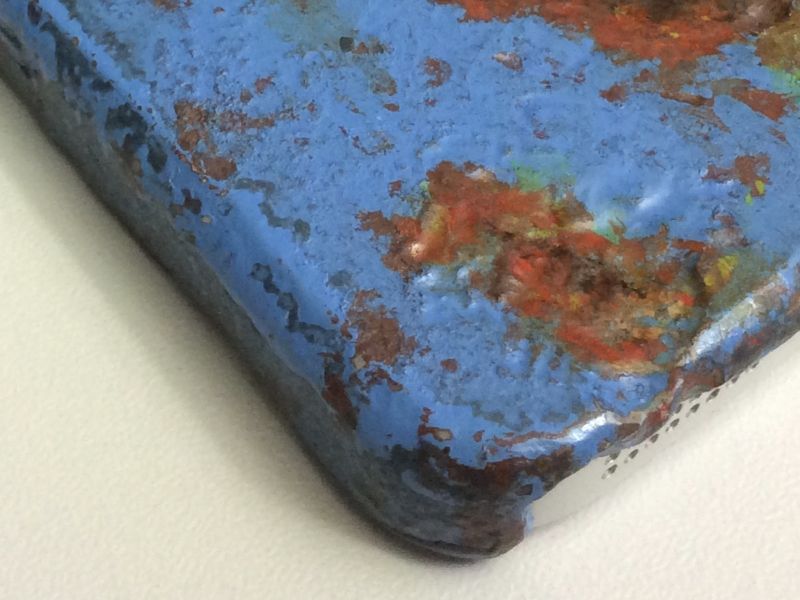
Well, pretty didn’t do it, so I had to add more rust, like different rust color shades.
So I used acrylic airbrush paint and brushed on some washes of burnt umbra, light brown and yellow, adding additional orange highlights.
Check out the gallery below for some additional shots.


Then I covered the whole thing with several layers of acrylic matte spray varnish.
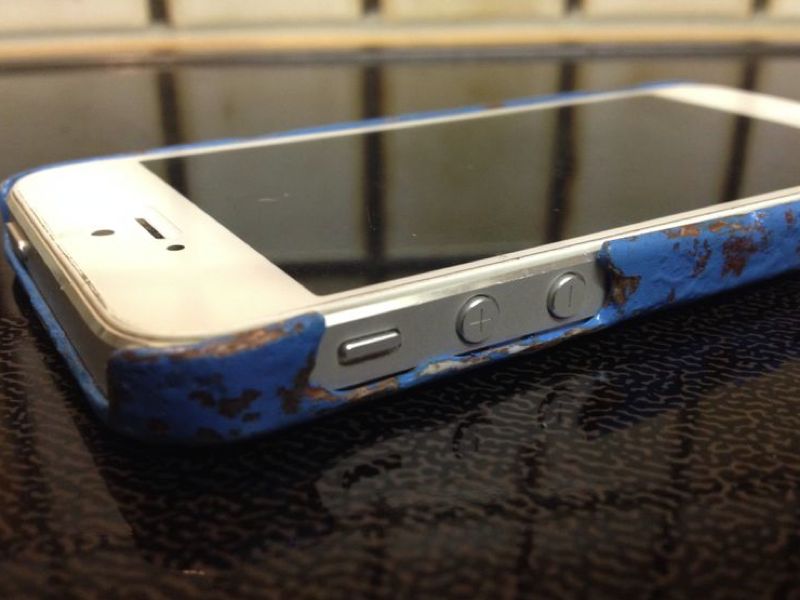
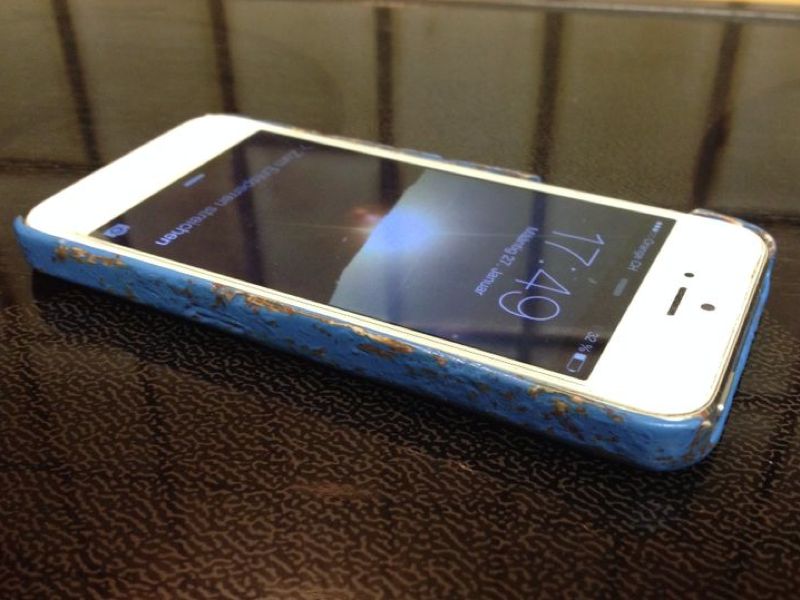
Holding up
The case held up pretty well, as you can see in the gallery below.

One issue I had though was the top coat varnish. It was by SprayVar and maybe has gotten a bit too old. The varnish never really dried, even after 2 days it had a tacky feel to it. With this, it also accumulated additional dirt from using it. Well, this in the end actually added to the realism, when some of it would come off like a coat of rubber cement, exposing the blue color in some places while leaving it grimy in others. Check it out below!


All in all I’m pretty satisfied with this one. Case #5 will be even more realistic, I’ll try to incorporate some real car rust there.

Leave a Reply