
iPhone 5 case #3
iPhone case #3 is actually an updated version of case #2. I didn’t like the colors of it after a while, so I redid the whole thing.
Check out iPhone 5 case #2 for production details of the case itself. Below is a picture of the naked case.
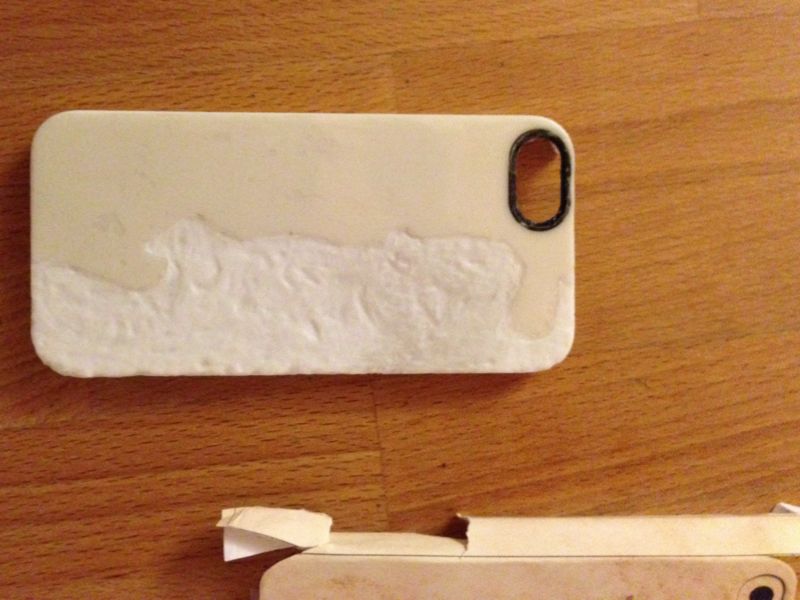
I wanted the flat unrusted eggshell color part to stand out some more and to be shinier/smoother. Therefore I cut out a piece of overhead projector foil to the shape of the color part and glued it to the case using 2K epoxy resin.
Transferring the Design
I printed some modified images of the design on water slide transfer paper, coated the paper and applied it to the case.
Although I was already used to the finicky process of this step from the last case, it again amazed me how tricky it was (check out the details here if you haven’t got already).
The position of the foil was very crucial regarding the underlying borderline of the color and the rusty metal since this time any false positioning showed even more now that I raised it with the OHP foil. The OHP foil was also partly responsible for the increased positioning problem, because it made the decal harder to move around after it was positioned roughly.
In order to not tear the decal up, I finally settled for an acceptably precise result.
Setting it down
I then applied some transfer foil setter liquid. Since the last design was seemingly not sticking to the surface too great after all, I thought it might help to add some more setter than before, so the foil stuck better to the case.
Turned out that there is a fine line between enough and too much.
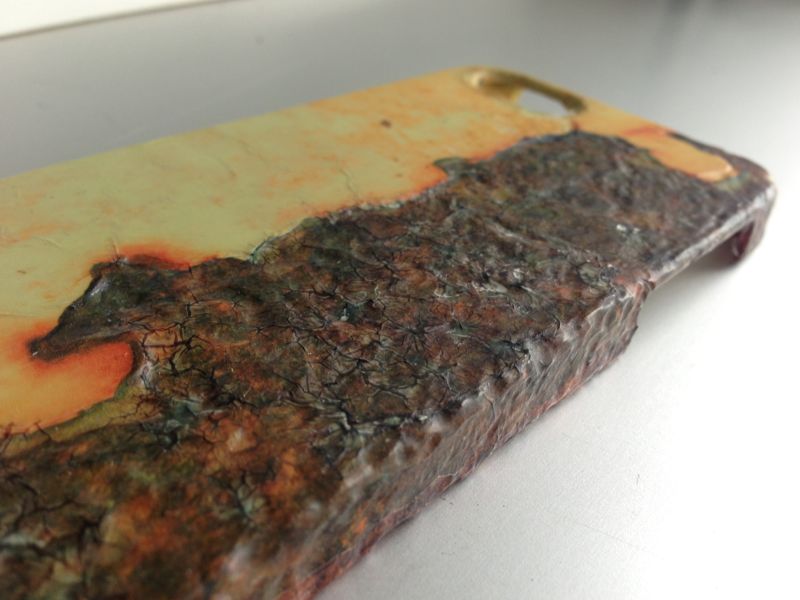
Normally the foil starts to crackle when it starts reacting with the setter, lays it self on the surface and then retracts without leaving cracks. But this time the foil started to soften just a tiny little bit too much, and by the time the retraction process finally started, the also softened color had already built up along the cracks.
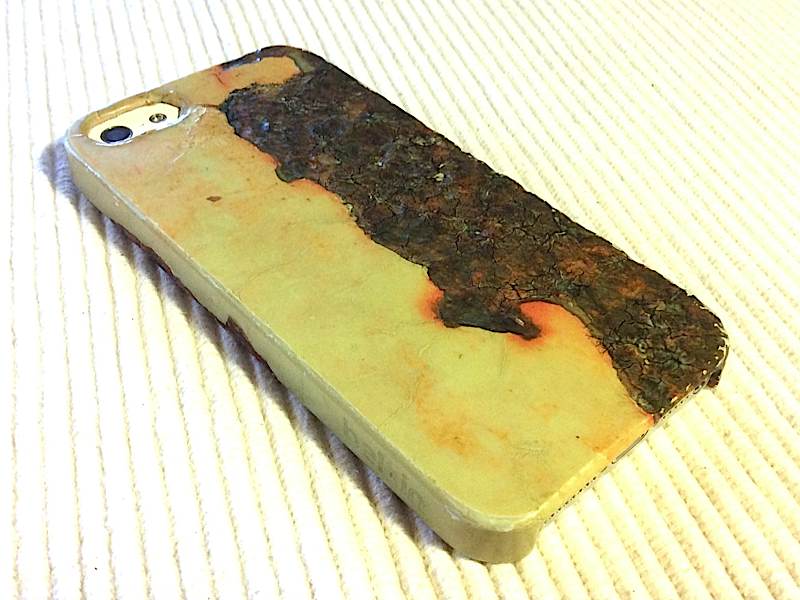
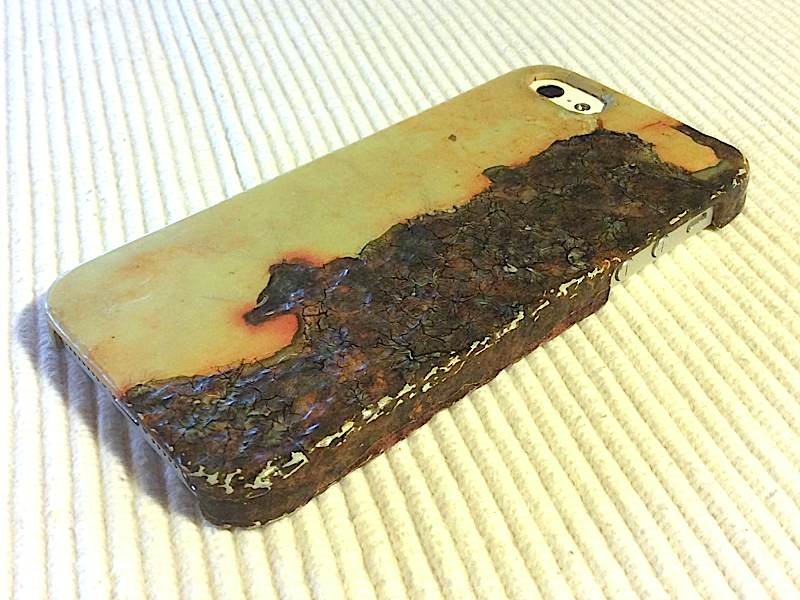
Well, after all I thought it looked more like the real thing from about 25cm (10″) away than the previous one, so I let it dry and coated it with 5 coats of matte clear acrylic varnish this time.
It also looked better and more textured thanks to the raised flat area and darker lower areas.

Holding up
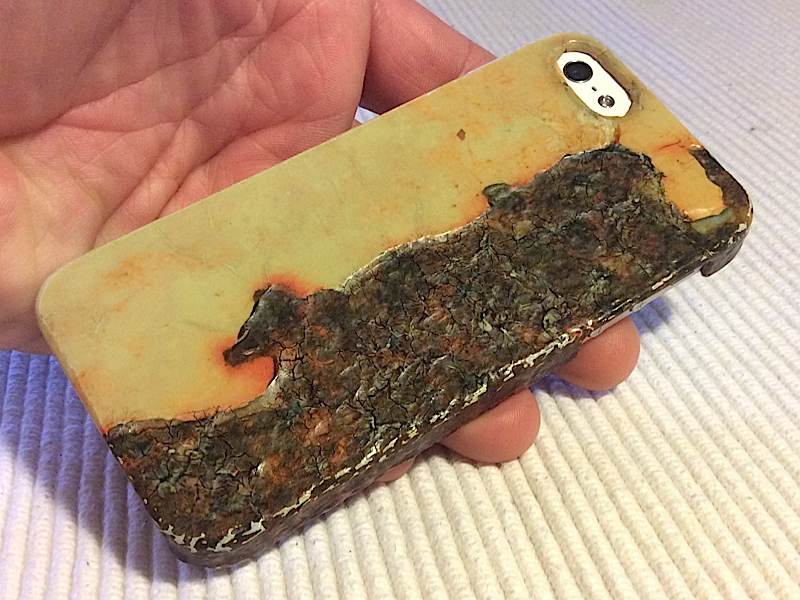
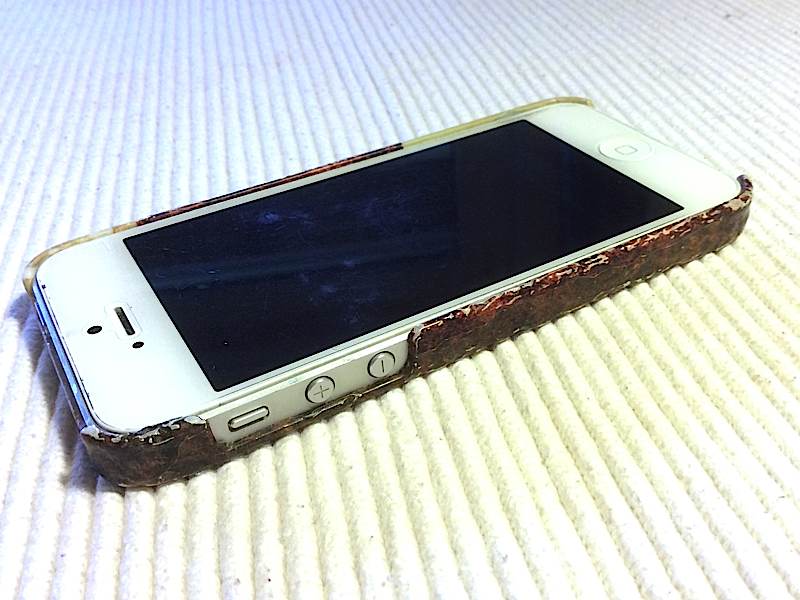
This case held up a lot better than the last one. Obviously the setter treatment and thicker varnish layer really helped.
Also when the color finally did come off at some corners, it was easier to fix with the help of some black permanent marker.
I used it daily on my phone for about 3 months till I set up case #4. Check out the wear-off details below.


To this day (even after case 5) this case is my favorite one.
The only downside is that the surface is almost too smooth, which I don’t like too much ’cause it’s a little easier to let it slip that way.

Leave a Reply