
Speedmodeling Corsica Critters – Tools and Materials
 As many have been asking me lately, I wanted to shed some light on the process, surroundings and materials involved in the makings of my little critter models.

First of all, the above is a pic of the site I’m doing it at. It changes slightly each year, depending on the campground parcel we get. The main difference is that there are spots with more shadow than the one you see right here. Other than that it’s about as idyllic, nice people included 🙂
Here’s a closeup of my working bench, which transforms into the dining table some times. Note the beer – an important utensil with the hot temps there. 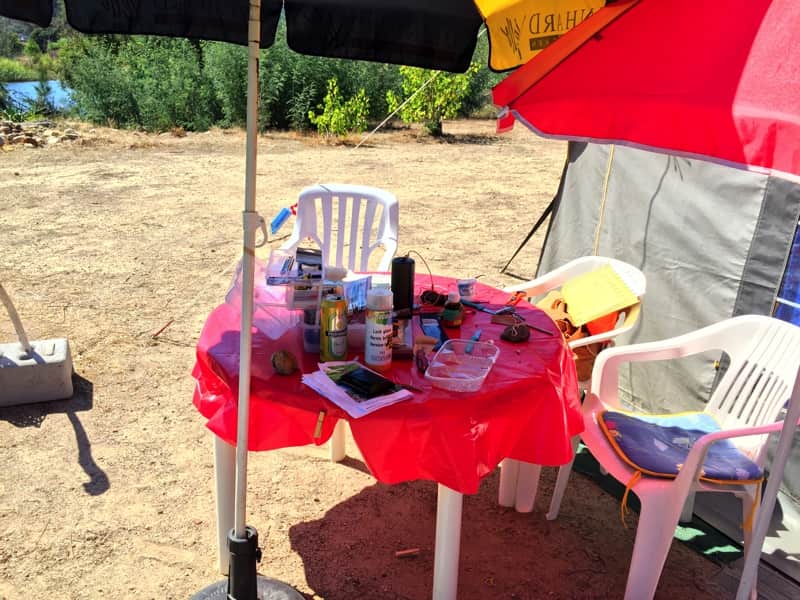
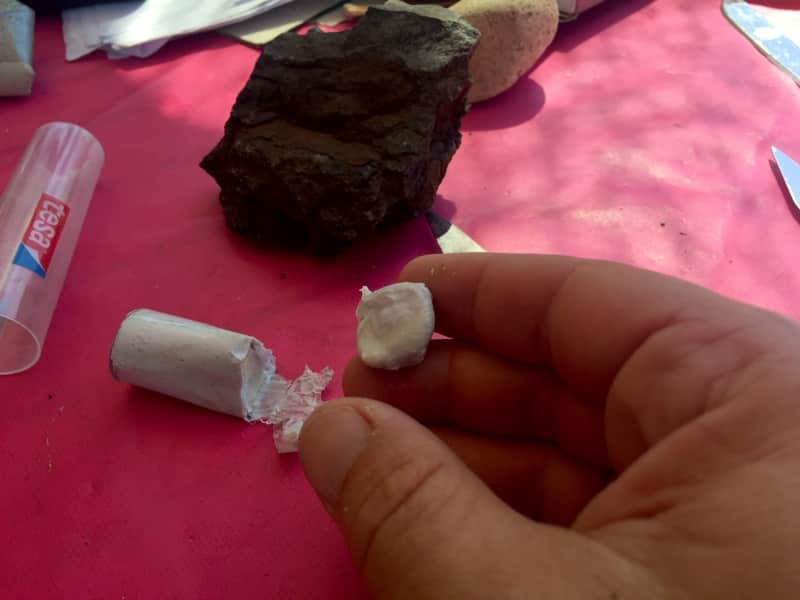
The tools I use are fairy basic, some 2K kneading putty and an assortment of knives. 
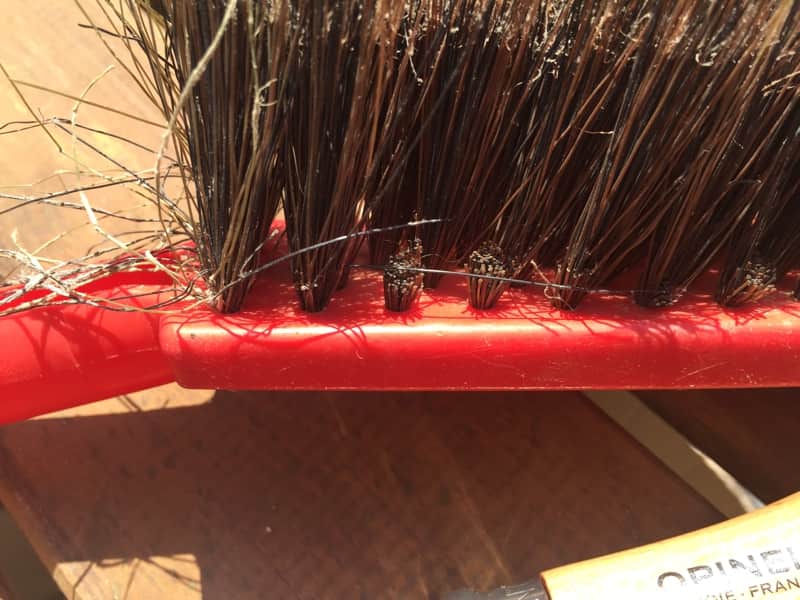
For the legs of some of the critters I use cut-off pieces of our tent brush.
To start, I cut off some putty and knead it thoroughly. The stuff gets hard within 4 to 5 minutes, and t it’s too soft in the first 2 to 3 minutes, so that leaves me with a modeling time window of about 2 to 3 minutes.
Here you see a lizard modeled on it’s final resting place. Looks like a cave amphibians that never see the day of light… 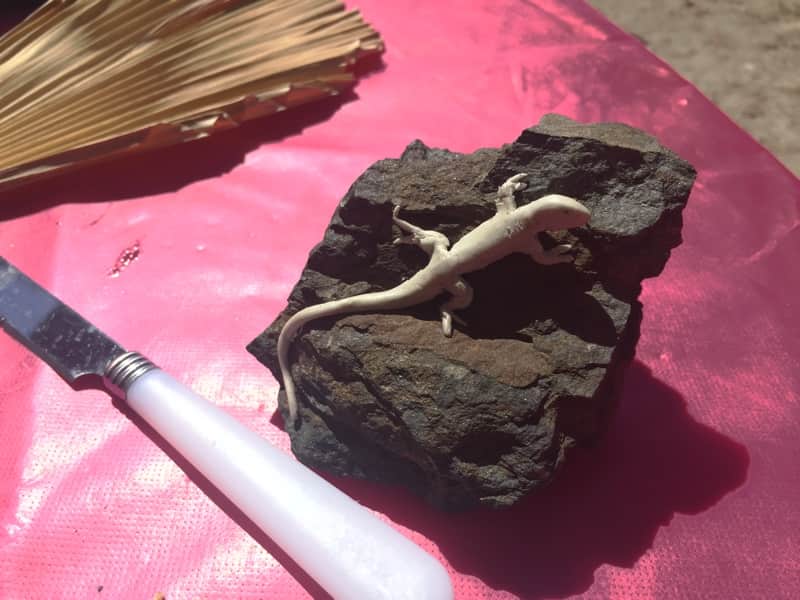
Some of the critters require insertion of legs, which gets especially challenging when trying to do a centipede.
After it’s hardened out I take the critter and start painting it with acrylics or water color, whatever is around.


Painting may take anywhere from 10 minutes to almost an hour, depending on the detail. Finally the thing gets glued to it’s former position.
An that’s it. critters all over the place.

Check out meet the guys for more details on the critters above.

Leave a Reply