
iPhone 5 case #5
Here’s case number 5. Because the other cases I used always looked a bit crappy (to me at least) after the coating had worn off, especially on the edges, I this time wanted to use a case with a native color that looked good when it showed through.
So I ordered the a case from dx.com which was described as “hard plastic wooden case”. Ok, it was hard plastic, came cracked and looked like wood/bark. The only issue besides the crack was the wooden structure which was not printed on, but was a rather soft fabric based sticker foil.
But then to quit is to fail, so I decided to go on as planned.
Creating the structure
Trying to use my drill bits to create the structure didn’t work this time. The top cover was too soft and would only clog the teeth of the bit.
Therefore a reverse approach was needed.
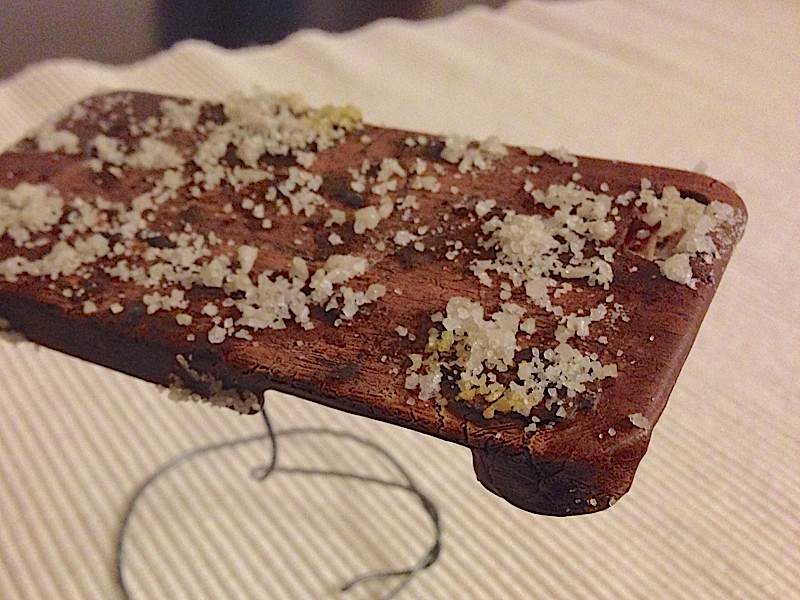
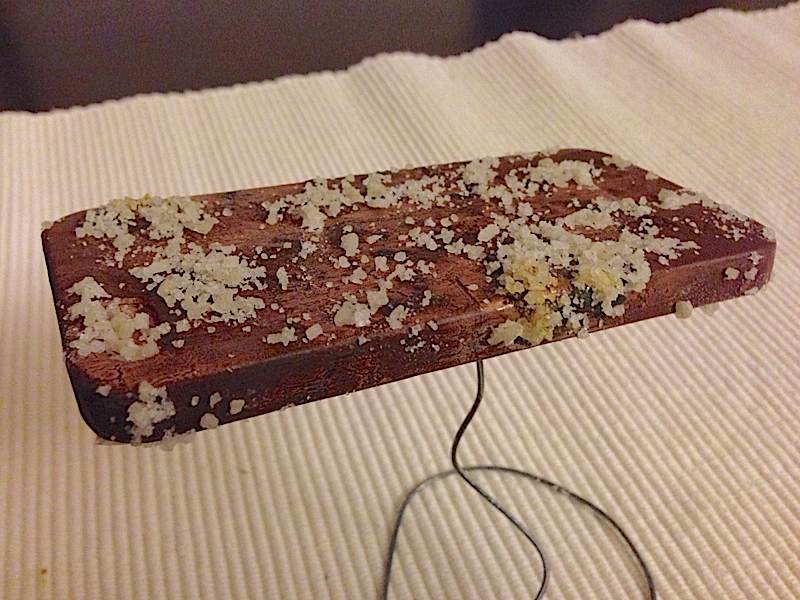
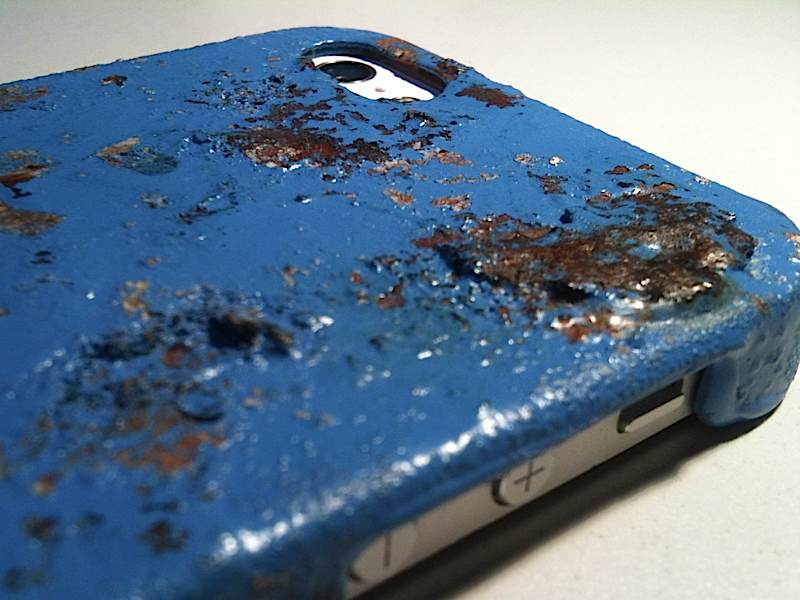
So first I went to collect some rust pieces from my Thunderbird’s trunk lid (below you see one of them on the right side of the case).
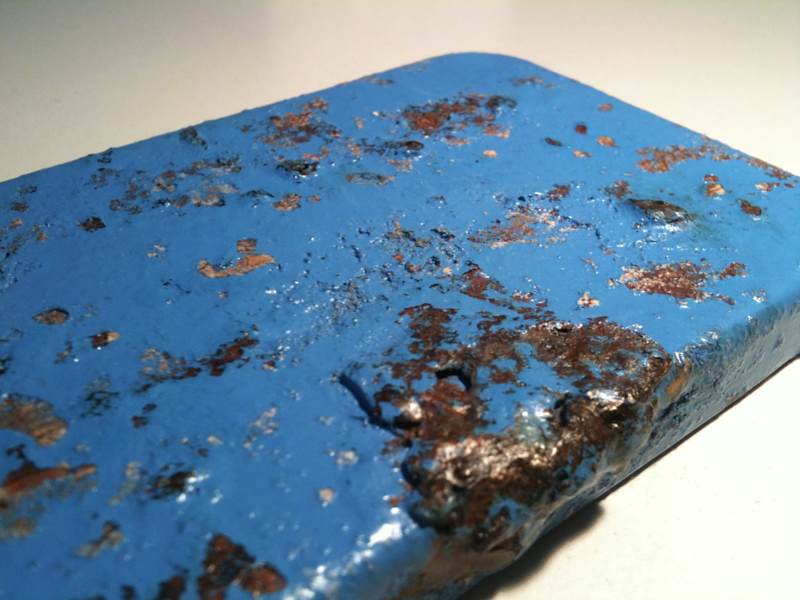
Then I mixed up some Araldite 2k resin, tinted it with a couple of drops of burnt umbra airbrush acrylic color and applied some bumps with a toothbrush. Lastly I glued the Thunderbird rust scraps on with the Araldite. check out the images below for some details on the “naked” case.

Salt coating
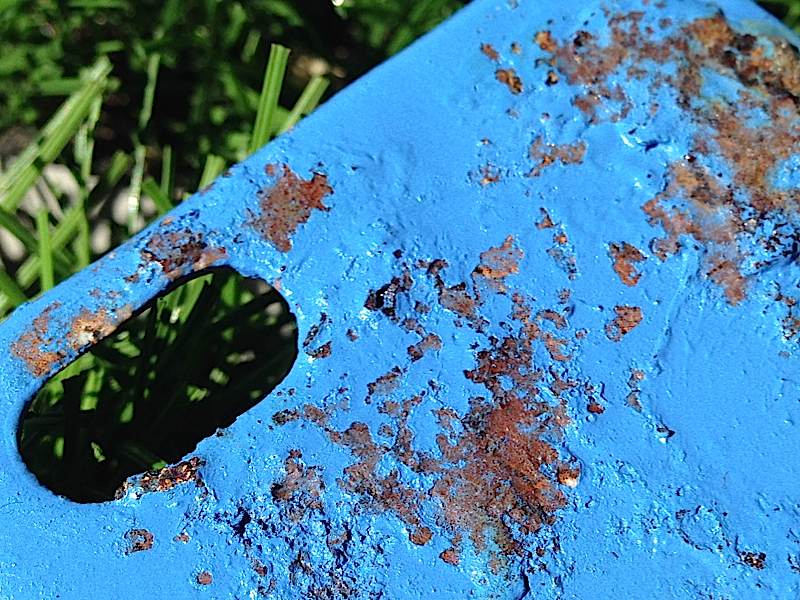
To get realistically looking rust edges and a thicker top coat of flaking-off color I applied the salt technique as in some previous cases.
I took this technique from scale modelling, where it is mainly used to weather cars, tanks, railorads cars or houses.
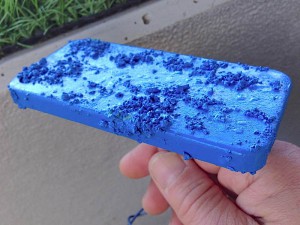
The process is basically wetting the surface, sprinkling different sizes of coarse sea salt grains on the water splotches and then letting it fully dry.
After that, spray the top color on in 2 to 3 coats .
Finishing
When the top color hast almost completely dried, rub the color off with the salt. If the color is too dry at this stage, too much is taken off with the salt. If it’s too soft still, the color tends to smear the surface beneath, because it is usually even softer below the top surface.
So this is a rather tricky thing, and you’ll find out the right degree of drying time as you go.
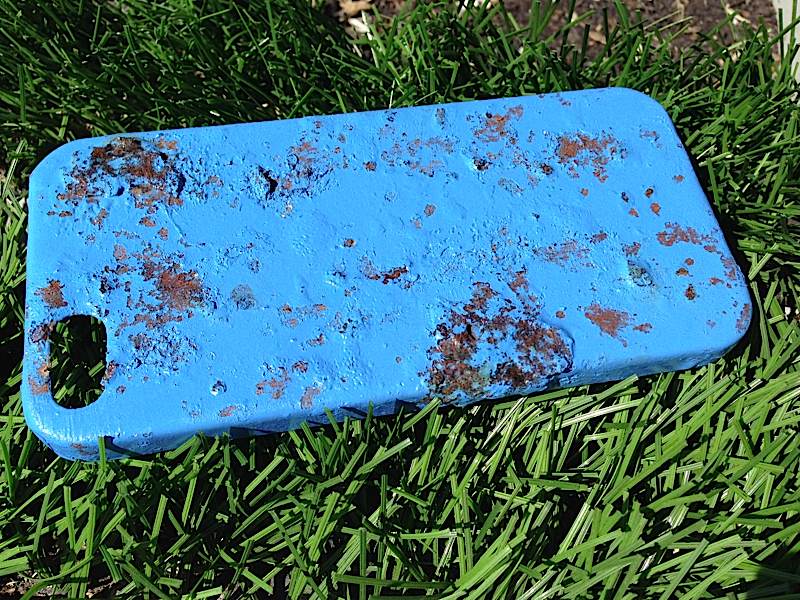
Then I gave it a finishing touch by scraping off some additional color, especially from the real metal rust parts.

Finally the mandatory top coats of matte varnish, and the thing was done.
Check out some more shots of case number 5 below.
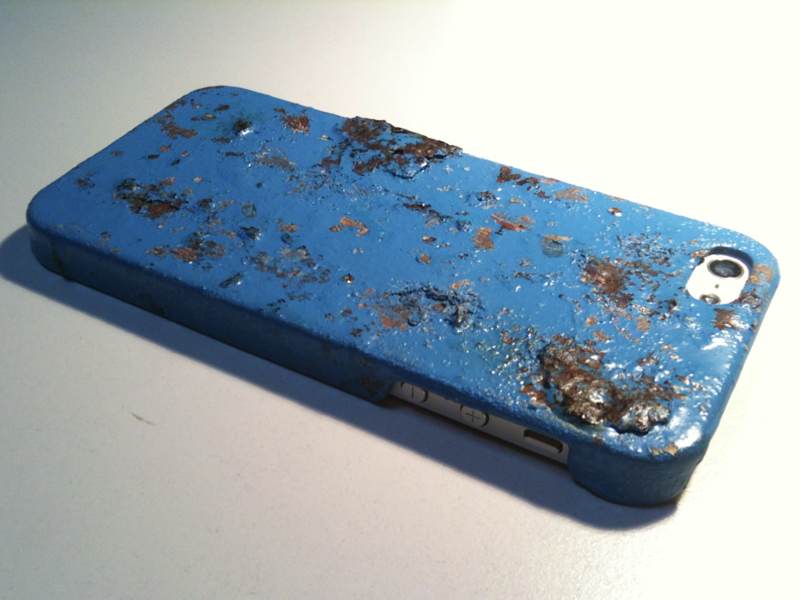

Basically that’s it for case 5.
At the time of this writing I’m already filing on my concepts for case #6, which will probably include real rust sections, a 3D printed Shapeways case, salt technique and probably another color than blue this time. Maybe also some crackle paint and vintage prints.
Holding up
I haven’t used this case in the wild yet, so no reports on this for now.

Leave a Reply